When I was searching for unique things to do, this came up on my list. I used to work in downtown Cincinnati for years and did not know the Mercantile Library was there!
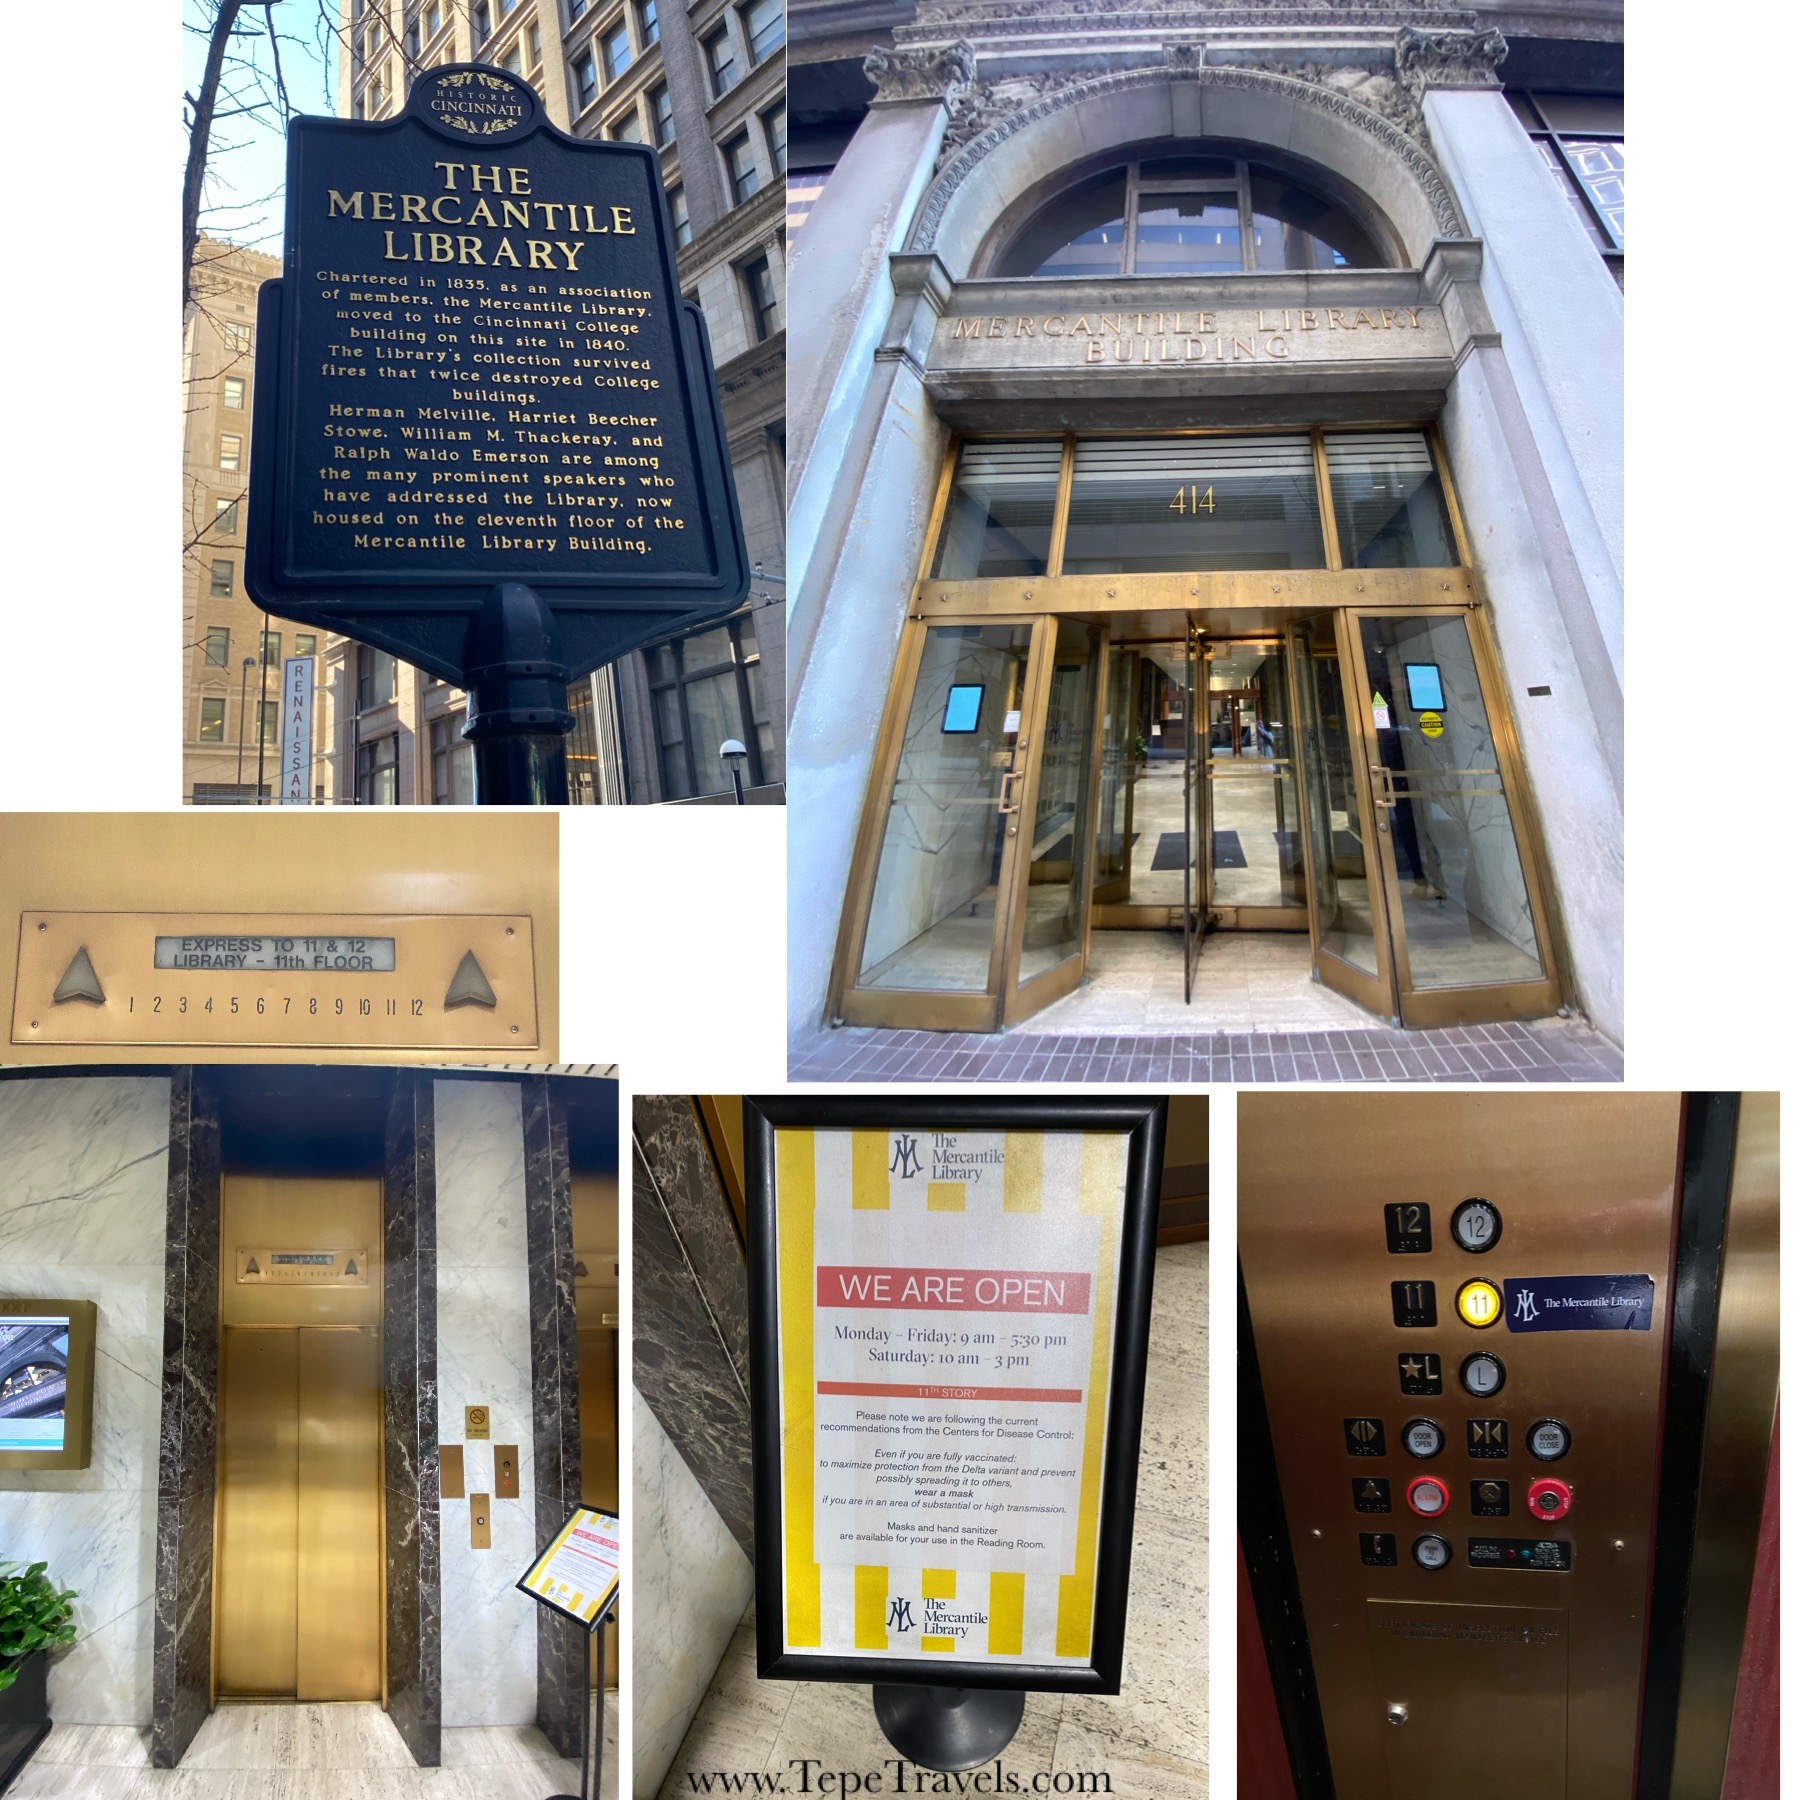
This Library is in an older building from the 1800s and is located on the 11th floor. (Don’t worry, there is an elevator going up to the Library.). There is paid parking available on the street or in nearby parking garages.

This not a public library. That’s right, I said NOT a public library. It is a membership/subscription library. Annual dues are $65 (For an individual. There are several different membership options available.) This library began in 1835, created by a group of local merchants. They shared their books and funded the library with their own money. They eventually rented space in the Cincinnati College building. After a fire in 1845, the group pulled together to raise $10,000 to help rebuild the building, and in return the Library was given a 10,000 year lease.

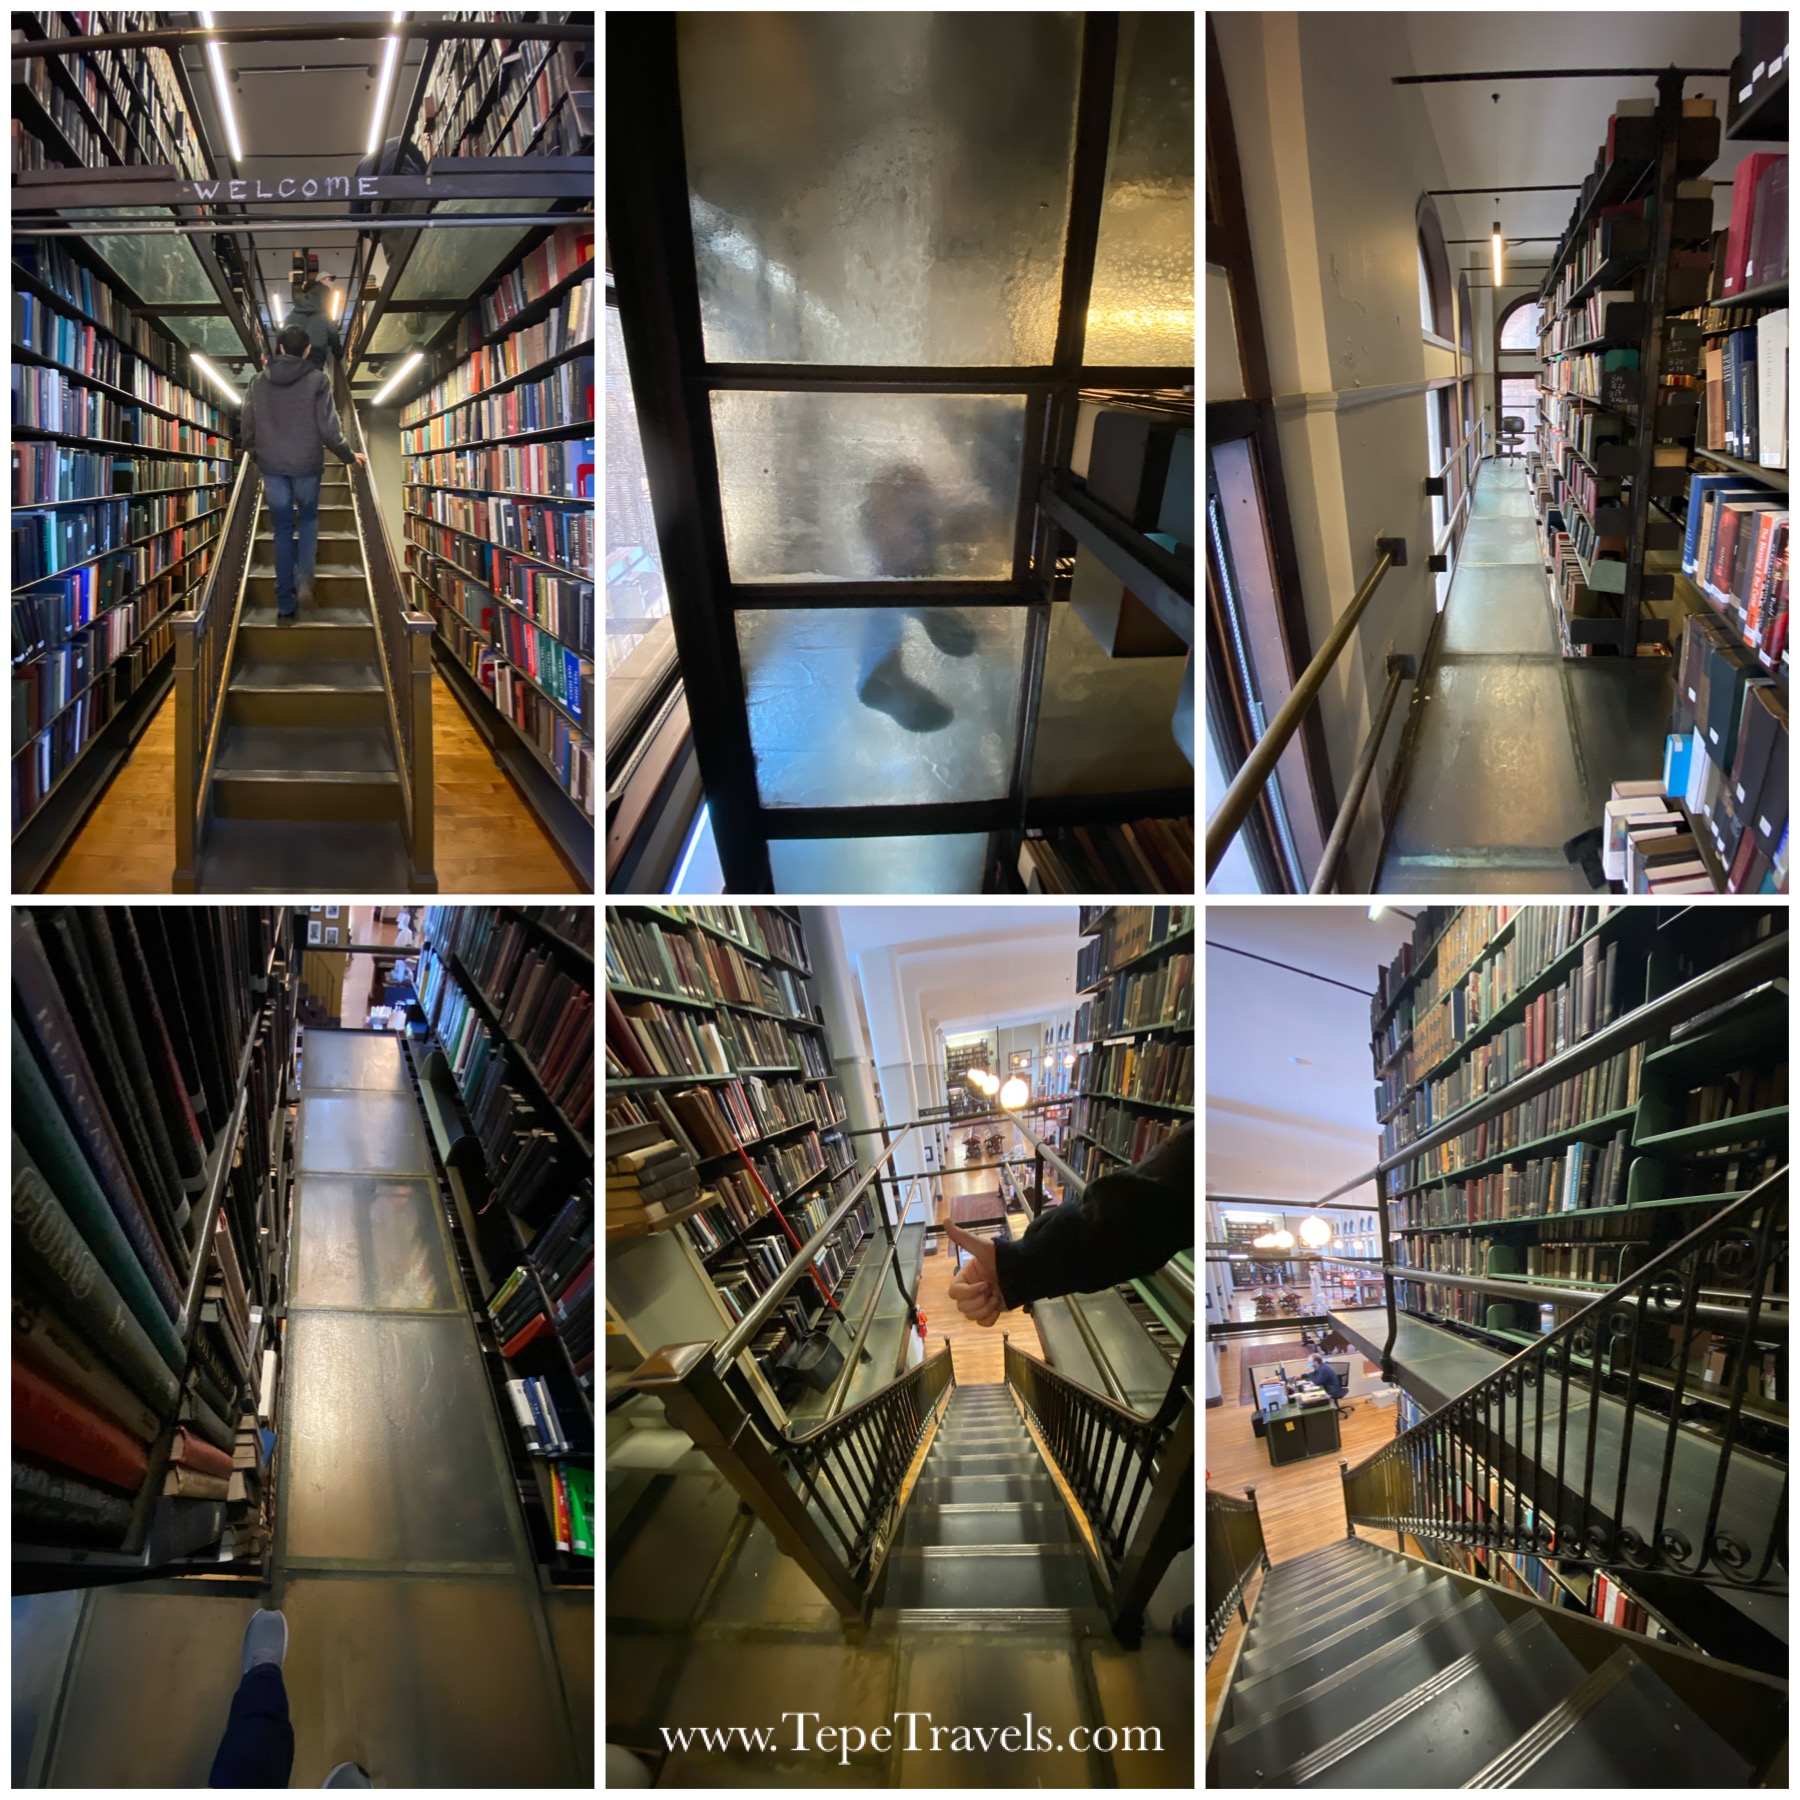
I love older buildings; there is almost always something interesting about them. The library had a tiled floor entry, neat architectural details, and a spiral staircase. (I am a sucker for spiral staircases.) The second story on the right hand side had glass walkways! The building still had the old style US Mail Chute in the walls.

The Library doors open to a nice area with seating and select books displayed. To the right is the service desk, a bathroom, the spiral staircase leading to a meeting room, and a flight of stairs leading to a second story of books. To the left is additional seating, books behind glass door cases, and another flight of stairs leading to a second story of books. Some of these books were old, some were new. There were books I never heard of. There were also books I don’t think the public library would have (i.e. a section on the occult).

It was so quiet! There were only a few other people there, but they all were quiet while they read or worked on their laptops. I would not say that it is a younger child friendly library. There were no children’s books that we could see. However, on the plus side, it is a place where you could go to relax and read or get some work done. There were windows everywhere letting in light and views of downtown.
If you are in the downtown Cincinnati, Ohio area, check out this library treasure. It was a neat space and is a great piece of history. I never really thought about the history of libraries before. They were all funded by local taxes to become public libraries.
DETAILS:
- WHERE: 414 Walnut St., Cincinnati Ohio 45202
- COSTS: Free to Visit. Memberships begin at $30 for students. Individual memberships are $65, Household Membership $110. There are other membership packages as well.
- HOURS: MONDAY-FRIDAY 9:00AM to 5:30PM, SATURDAY 10:00AM to 3:00PM
- PARKING: On street (paid) or parking garage (paid)
- BATHROOM: Yes (1)
- TIME RECOMMENDED: 1+hours
- COVID RESTRICTIONS: Masks required as of January 2022
- *Details correct at the time of posting, but please double check before you go.